Today I'm sharing my first post for this month using the gorgeous new ArtOptions Alena collection. This has the most beautiful, stunning and sharp colors. Our youngest son and his family live on the Gulf Coast so the colors in this collection are perfect for beach photos. (although this is not). It was still perfect for the vibrant and happy pic of the two of them!

I used two of the papers from the collection as the base for the page. I used Ephemera Bits, Rubon Transfers, Tags and chipboard from the collection. I used a rubon on one of the tags for the main title "Got You". I also used a frame around the photo.

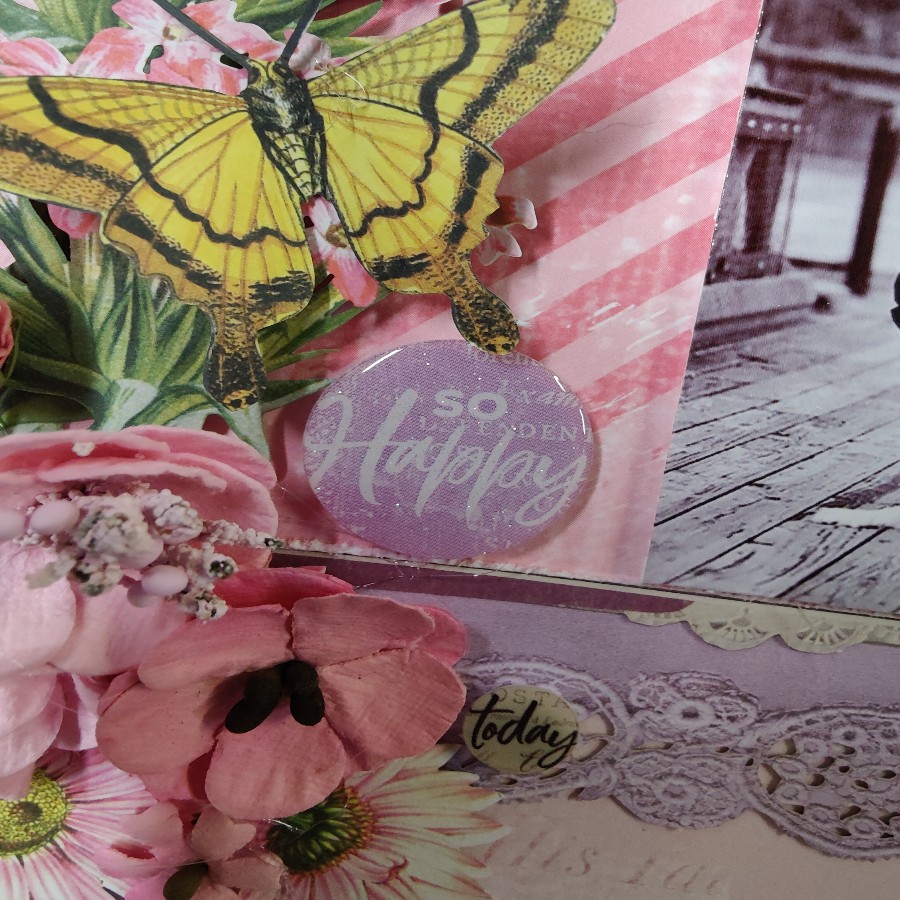
I added floral elements along with a butterfly and the new Essentials filmstrips in each corner. I mixed 3d blooms with diecuts and rubon leaves also.

I used chippies for different phrases to go with the cute photo. I added the little chipboard hearts and a phrase to another tag and popped it on foam for dimension. I also used rubon accents around the borders of the page.

I also added a few simple elements to another small tag, a couple of tiny blooms and another phrase. I attached the tags by the strings around the larger blooms on the corners.

Thank you for visiting the blog. Please stop back by daily to see what the design team has in store for you. They always have something amazing!
Patti Hamil