Thursday, May 30, 2013

More Green Tara Goodness!!!!

Happy Thursday everyone! As I mentioned earlier I had my first post with Green Tara!! I have shared one of my pages, now I'm sharing another one! This one is our sweet "Harley" girl! She loves the water and she plays in her pool when it's hot!

The Green Tara blooms just highlighed the beautiful Websters Pages paper beautifully! The daisy trim was the icing on the cake, it just pops on the page!


 Here you can see the little pink Cherry Blossom blooms with a little turtle cut from the 6x6 Websters Pages papers. This came from the Palm Beach collection of paper. You could pull any color from the paper with the wonderful selection of Green Tara blooms!!!


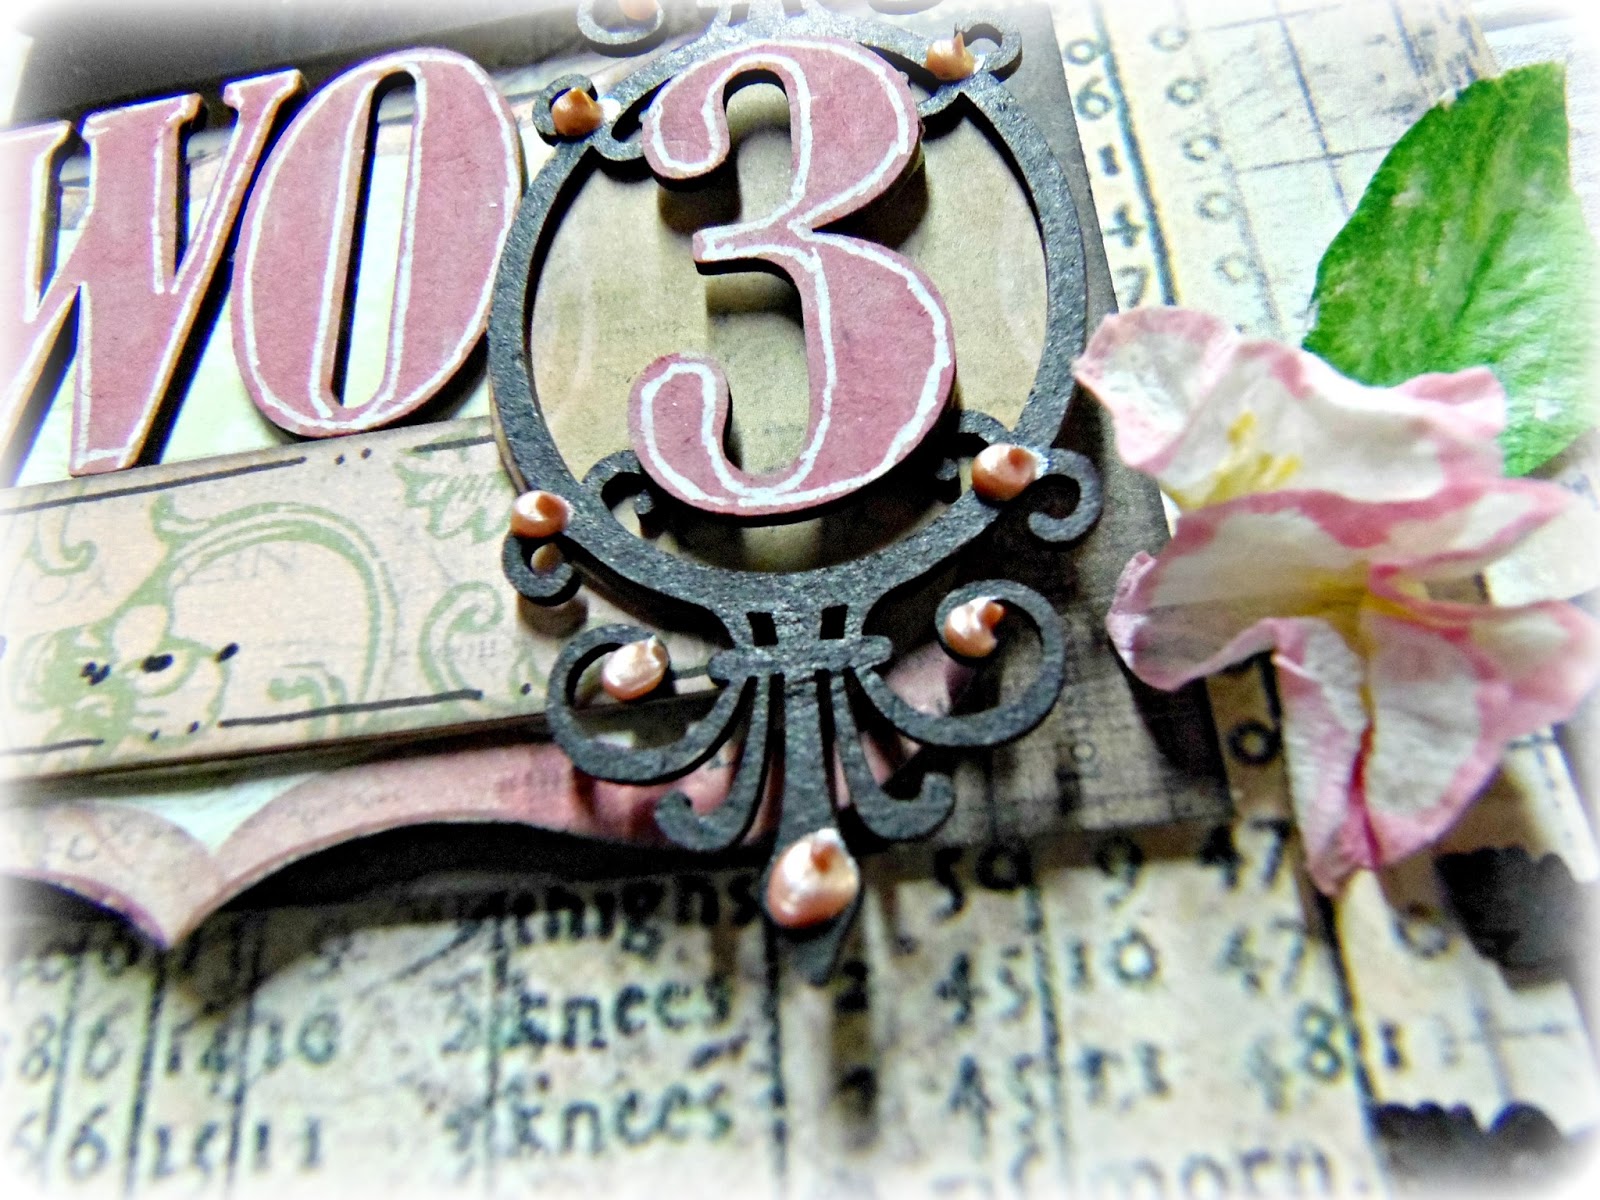
Here you see the beautiful Heirloom 6.5 silk and organza bloom, and one of the 5cm white Azaleas. I hand cut the little umbrella and placed this cluster on a beautiful doily die cut from Couture Creations. The leaves are stamped and cut out and I added little gem and pearl accents.


Here you see a pink 5cm Azalea with more of the cute little Cherry Blossoms in pink and white. Here you see the gorgeous Daisy trim, and it's self adhesive too!


I used Websters alpha stickers and hand journaled with my blue Zig marker. I also "faux stitched" around some of the elements with my Zig markers.


These Green Gara products are blowing me away, they are so lucious and pretty, the blooms, the trims.....I urge you to check their website if you are a flower junkie like I am!!! This was a more fun and bright page, I will share a more subdued card in the next day or two! Thank you so much for stopping by!!!

Green Tara products used:
Blue Daisy self adhesive trim

Other supplies:
Couture Creations Doily die (Fantasia collection)
Websters Pages alpha stickers
gems and pearls

Tuesday, May 28, 2013

Green Tara Goodies!!!

I just had my very first DT post over on the Green Tara blog. I was so excited and happy to be chosen for this wonderful team! The products are gorgeous and the design team is so talented. I feel honored to be a part of it! I will be sharing projects from my first post over the next few days.

I'm going to start off with a a layout that I did of Patrick and Taylor. I had been saving the Graphic45 Secret Garden papers for a while. This is one of my favorite collections from any mfg. in quite a while. I didn't want to cut into it. Now I'm ordering more to replace what I used! I saw some gorgeous projects earlier by my super talented friend Gloria Stengel and had to have the paper!!!


There was a patch of purple lilies in a field down the road from our house that I took this photo in, so I wanted to use purple and yellow for the page. These papers were perfect!!! I placed the different clusters of pretty blooms in opposite corners on the page to move the eye along the page.

This shows the beautiful yellow Heirloom silk and organza bloom in the smaller size. Also one of the beautiful purple Azaleas! The smaller blooms are the pretty little Cherry blossoms, they come in all colors, I used  white and lilac. And also a little tiny lavendar rose and tucked a white bloom from a Petal Pack behind the bunch.

I tucked a little piece (one section) of some beautiful  white lace behind the distressed paper.There is also a lilac Gardenia at the top of this cluster that doesn't show in the photo.


Here you see more of the same blooms and I also used a piece of Rafia for a little bow!! This is two toned and so cute to work with! 


I added a little stick pin also from NikNax by Ariana Etsy shiop! I hope you enjoyed seeing this page even a little bit as much as I liked creating it! I will have my other projects posted in the next couple of days so please stop back by!

Thanks so much for visiting, I really appreciate it!!!

Green Tara Products used:
Lilac lace ribbon

Other products used:
Ranger liquid pearls
Studio G ink

Plus Corporation double sided tape
NOTE** I have been using this adhesive for a couple of weeks now on ALL of my projects, it is the best that I've ever used, and they have 72ft. in a roll! It just goes and goes! They offer all types of adhesive. You can find it a the Scrapbook.com Superstore HERE! I also have a link to their website on my sidebar!!!

Tuesday, May 21, 2013

Hello everybody, today is my day over at the Craft-Dee Bowz blog. I wanted to create something different with these beautiful ribbons and cute little dress die. I started by cutting a circular piece of chipboard and painted it a matching green as the ribbon.


I took the green ribbon and wrapped and gathered, stapling in the center in an offset pattern. Once I had that completed I took the purple ribbon and wove it around.


To fill in any blank spots I added the little sprays of tulle and pearls of the same color. Then die cut three of the little dresses, 2 yellow and 1 purple and also placed them randomly.


I tied bows with the left over green ribbon with my Craft-Dee Bowz tool and also adhered them. I added little purple blooms and a butterfly as well. The finishing touch was a multiple loop bow in purple with my Craft-Dee Bowz tool!!!


I thought it turned out cute and you could make lots of variations of this little wreath! You could make multiples for shower decorations, or birthdays........lots of possibilities!

Thanks so much for dropping by, and please check the Craft-Dee Bowz blog to check out the other creative projects from the design team!!!

Wednesday, May 8, 2013

ScrapAroundTheWorld

My dear friend, Helen Tilbury has started her very own challenge site! It's "ScrapAroundTheWorld" and it's an awesome challenge site! I wanted to make time to participate in this one! Here are the details:


May 2013 Challenge 1

Each month we will present you with a mood board & a sketch, together with a mood board/sketch combo image for you to save to your computer & upload to your blog when taking part in our challenges.  


This month we have Agnieszka Bellaidea to thank for this gorgeous mood board!

She is our challenge host this month & will be monitoring the comments on this post
 & answering any questions you may have (also directly in the comments).


All you need to do is be inspired by the mood board (in ANY way) 
& use our sketch as your starting point.  


How to use our sketches

As you would any other sketch.  We would like to see that it definitely inspired you & was your 'starting point' but you can 'make it your own' by flipping it, turning it, inverting it & moving things about if you like.  You can also change the photo orientation and number of photos to be as few or as many as you like.  


How to use our mood boards

Our mood boards are for your INSPIRATION only.  You can be inspired by one of the images, all of the images, or any number of them, or even parts thereof. For example, on this board you may be inspired by the colours (either all of them or just one, two or more) but you do not have to use any colours on the board if you don't want to.  Other aspects of the mood board that could inspire you are, for example, the beads, circles, fringing, cracks, texture, leather, chandeliers, turquoise, rust (colour or rusty elements) ie brass/metal.  Pink, purple, organic shapes, swirls, feathers, fluff, fibres, distressing, ombre effects, flowers, bows, lace, flower-soft & filigree work (fine cut embellishments such as laser chipboard with detailed designs).
It's entirely up to you!  Be Inspired in any way!!


Now, here is my take on the challenge. These are pictures of our youngest ds and his girlfriend. I think they're so cute and sweet together!


Here you can see the chippie birdcage from Imaginarium Designs that I embossed with Ultra Gold High embossing powder from Suzy West. I added some tiny blooms and cut out pieces of the Graphic45 paper to embellish, I used the little blooms and birds and such. I used Graphic45 Secret Garden papers.


I also used baker's twine on the tags and around the photo mat as well. I used a sticker sentiment for the journaling.  I also added some buttons and pearls.


 Here you see that I added pop dots for dimension.


Another close-up of the detail.


The title chippies are also Imaginarium Designs. I just used a purple marker to color them and added liquid pearls by Ranger.


One last close-up of some detail and liquid pearl accents.


Thanks so much for stopping by and please check out this great new challenge site!!!

Saturday, May 4, 2013

A Little "WOW" Card


Make A Wish

I wanted to share a card that I had up on the WOW blog, I wanted to create a Birthday card, but wanted a little dimension on it. So I pulled out my WOW powders, a stamp set, some blooms, chippies and pop dots! I found some scrap Websters Pages papers that would work and got busy!

Here is the finished card:


I used the Suzy West "Make a Wish" stamp set, along with the Suzy West Sour Lemon regular, Bubble Gum regular, and Opaque Bright White regular embossing powders. I used the Sour Lemon and the "Make A Wish" sentiment  stamp around the edge of the base. I also embossed the chipboard scallop border with it. I used the Opaque Bright white in the center. The flourish is done with the Bubble Gum.


I used a generic leaf stamp and made some tiny leaves to go with the little blooms. The bling accent is from Websters Pages. As well as the little cake.


Here you see the pink flourish behind the blooms. I added liquid pearl accents to the banner and used pop dots for dimension.


Another close-up.


and one more! I used orange stickles for the flame on the candle!


I hope you like the card, It was fun to make! I hope it inspires you to pull out some scraps and start creating! Thanks so much for stopping by!
Patti

Products used:
Suzy West "Make a Wish" stamp set
Suzy West Sour Lemon embossing powder
Suzy West Bubble Gum embossing powder
WOW Bright Opaque White embossing powder
other:
Ranger stickles orange
Ranger liquid pearl white
Websters Pages paper and bling trim
Imaginarium Designs chipboard flourish

Friday, May 3, 2013

Welcome to Moxxie's May Muse-A-Palooza Blog Hop! 


Well, it's time for another fantastic Blog Hop with the Muses. This month features the Graduation Day collection. I've done a multi photo layout of our dd's graduation. The collection is very versatile and you can add any accent color to make a striking project!  You should have arrived here from Susie's blog. If you lose you way you can check the order at the bottom of this post!  Here's my page.


I've added some black liquid pearl accents to the die cut sentiment. And I also chose to use black and burgundy blooms.


I cut out a few elements, like the hat and tassel below and put them on pop dots for dimension.


The element is cut from the paper and I added more liquid pearls.


Here is a closeup of the blooms.


This month we are featuring and you could WIN the entire "Graduation Day" collection! Many people are preparing for graduations of all kinds this time of year, from Pre-school all the way up to College and everything in between plus don't forget those other successes and milestones that are overcome with a little less flare. This line is perfect for all of those moments, inspiring quotes, fabulous designs and a color palette to match whatever you need for your page or project. Check it out!
 
 
To have a chance to win, you need to: 
  • Follow the hop through all eleven participating blogs, check out the beautiful work of the Moxxie Muses, and leave a comment for each of them. 
  • Comments will close at midnight CST on Tuesday, May 7th. 
  • Winner will be announced the next day on the Moxxie blog
  • International fans are welcomed to play along if they agree to pay shipping in the event of their win. 
 
  Here is your hopping order in case you get lost along the way you can come back here and pick up where you left off. Good luck and happy hopping!

*******
Got Moxxie
Ange Weisbeck 
*******

Thanks so much for hopping with us, I hope you are enjoying the projects!!! 

Thursday, May 2, 2013

ScrapForHelp New Challenge


It's time for the May challenge at "ScrapForHelp". This challenge is to use a napkin on your page. This is my DT page for the challenge. I used a white napkin to make the floral vine and blooms.

This is another page for my dd's family album, these pics were taken after finding out they are expecting our first Grandchild!


**All chipboard from Imaginarium Designs**


For the flowers I took a napkin, drew 6 petal .shapes with a Zig Marker, put yellow in the center, cut out and gathered each at the base. I twisted a strip of napkin that I colored with my green Zig Writer to make the stem. I just drew and cut out the leaves with the same marker.

I colored the chipboard pieces black and used pink liquid pearls as accents. I painted the letters and number pink and used a white marker to outline them.

The little cage was painted copper, I used black liquid pearl accents and the little dangle is from Berry71Bleu.

Another closeup where you see the little birdcage and dangle!


A closeup of one of the blooms, I put two together here.

 Here you see the end of the vine, I put several blooms.  The paper and accents are Prima, most from the Printery collection.


The journaling is hidden on a tag behind the photo.


I hope you like the page, and please check out ScrapForHelp and join the challenge, we'd love to have you! Thanks so much for stopping by!