Tuesday, March 5, 2013

Couture Creations Design Team Application Round 2

 Well, I was so excited to get the email that I had made it to the second round of the Couture Creations design team audition! This is such an awesome company and I would be honored to design for them. We had to create a project using embossing folders, and dies. Also cardstock. I wasn't lucky enough to have any Couture Creations products yet, so I used what I had on hand.

I decided to do a layout, since that is my main focus. I create cards and other items, but layouts are what I do more than anything else. So, here's what I came up with. I hope you like it. I wanted to show a number of embossed surfaces and lots of die cuts as well. I chose my photo first, then decided that I wanted this to be a white background page, to show the wonderful textures. Below is the completed project.


Now I will show you how I created this layout. First I decided what colors I wanted to use and chose my embossing folders. I chose two different folders.


I embossed two of each pattern and trimmed around the borders. Here you see that I chose a floral and a geometric pattern to use.

I chose my inks to match and then used my dies and cut 3 borders of 2 different patterns. (Only 2 of each shown in photo, I did one more each).

Then I cut 5 varying size circles from tan cardstock. I cut the borders into seperate sections and glued them to each circle.

Here is what they look like from the back.

After than, I chose my accent dies and got them ready. I cut several foliage patterns and one accent piece for below my photo.

I trimmed a little from my white background paper and matted it onto an ivory green sheet of cardstock. I then took my Kuretake marker in a blue and did some "faux stitching" around the border.


I took matching ink and inked each embossed piece that I started with. I used the two matching colors for this.

I cut circles and embossed them with a different folder to use as insets for the larger tan circles. I inked them first with some white ink.


I used my Kuretake markers again and outlined the tan circles first before adding the embossed lavendar ones.

I inked my title letters in a matching lavendar/purple color. I assembled all the elements and started attaching everything.

I also added some liquid pearls onto the border sections around each circle. You can see the white inking on the lavendar circles a little better in this photo.


I started out by attaching my 4 embossed larger pieces to the background paper. Then added my circles. I placed my photo onto pop dots and placed right in the center. I even cut out a few little squares for accent pieces and stamped a couple of images in each corner. The only other thing I added was an embossed border. I placed it in the center behind the photo. I added the blooms and die cut leaves last!

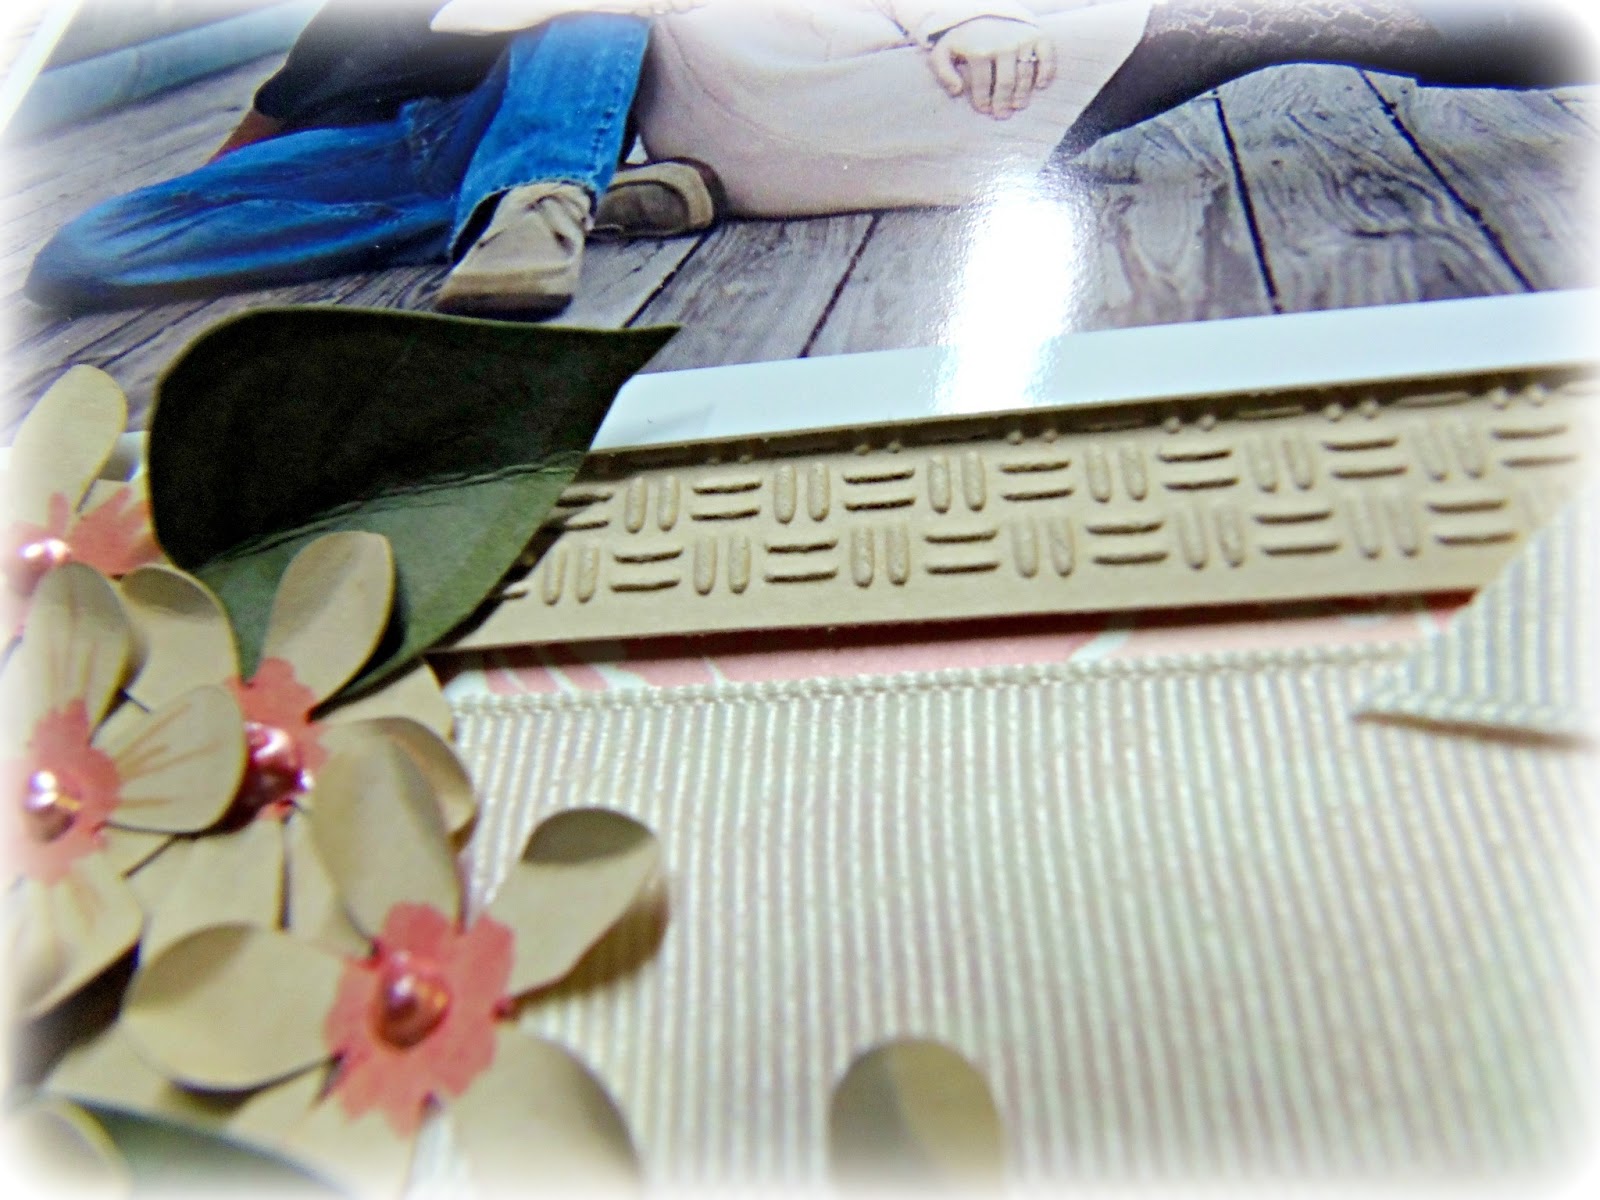
Below you can see a couple of close-ups of the placement of my blooms and leaves! Thanks so much for checking out my project! I really appreciate it!


Don't forget to check out all the great products at Couture Creations. And check back to see who the lucky design team members will be! Good luck to all of my fellow hopeful contestants!!!

Supplies used:
Ranger Liquid Pearls lavendar lace, and white opal
Studio G by Hampton Arts inks (colors)
Anna Griffin Inc. ink (blue)
Close to My Heart ink (White Daisy)
Prima blooms
Imaginarium chipboard alphas
Stamp by Tim Holtz
SpellBinders dies:
Die D-Lites flourish trim
Shapeabilities Foliage Two
Shapeablitlies Moroccan Accents
Shapeabilities Floral Doily Accents
Spellbinders Embossing Folder M-Bossabilities Patchwork/Mosaic reversable folder
Cuttlebug Embossing Folder Fabric Swatch

Friday, March 1, 2013

Moxxie March Blog Hop

Welcome to Moxxie's March Muse-A-Palooza Blog Hop! This month we are featuring and you could win the entire "Homespun Easter" collection, which is wonderfully fresh and packed with cross stitched charm! It evokes a comforting palette in shades of cream, yellow, green and blue. This collection is absolutely perfect for your Easter and Spring themed projects.
To have a chance to win, you need to: 
  • Follow the hop through all eleven participating blogs, check out the beautiful work of the Moxxie Muses, and leave a comment for each of them. 
  • Comments will close at midnight CST on Tuesday, March 5th. 
  • Winner will be announced the next day on the Moxxie blog. 
  • International fans are welcomed to play along if they agree to pay shipping in the event of their win.
Ready to hop?!!  Here is your hop sequence...  on your mark, get set --- GO!
*******
*******
Here is my project for the hop. This is my sweet little cousin giving her Easter bunny a kiss! I love this collection, so much fun!!! I cut the little bunny from the paper and gave him a spot too!


Here are some close-ups. I drew and cut the little chipboard cattails and vines and then colored and stickled them!

Here you can see I added liquid pearls in a few spots. And some drops of Glossy Accents too.

I used lots of Prima blooms and leaves.

Here you see where I cut out the little eggs from the paper put them on pop dots and used Diamond stickles around the edge.

Here you see a little of the little chippie cattails. 


Thanks so much for stopping on over today!  Hope you follow along on the hop!!!

Supplies used:
Ranger Glossy Accents
Ranger Liquid Pearls in turquoise
Prima blooms and leaves
Ranger Stickles in Diamond
Twill ribbon

Tuesday, February 26, 2013

Watercoloring with Markers

I had a post up over on the Kuretake blog for a project for March, which is National Reading Month. So we were asked to create bookmarks. These are mine. I printed free images of little "Reading Fairies" and colored them in. I used my regular Zig Markers.


You can see more detail on the close-ups. I wanted to color to be subtle so I took a piece of a clear package that embellishments come in and used it for my "color tray". I just scribbled a circle of each color as I was using it on the package and then dipped the waterbrush into it. That way I could totally control the color and shading.


I found the little boy fairy first, then later found the girl and did one with ehr as well! They're so cute!!!

 Here you can see the detail on her. I used really pastel colors on these. I only added minimal embellies also!


These wre really fun to do, I plan on doing more watercoloring this way! One of my favorite things to do growing up was to color, so this just reminds me of being a kid again!!!

Products used:
WorldWin Treasures cardstock
Kuretake Zig Writers (various colors)
Kuretake Zig Waterbrush
Prima blooms
Ranger Liquid Pearls
Kaisercraft adhesive pearls

Thursday, February 21, 2013

Couture Creations First Design Team Audition

Couture Creations is having their first ever Design Team call and a very good friend told me that she thought that I would be a perfect fit. So I figured I would at least try! Couture Creations is an Australian company that specializes in dies, embossing folders and the like. They have beautiful products! It would be a dream for me to be on this team!!! So wish me luck!

Here are a few projects using dies and embossing folders. Some of you have seen some of these already, so please bear with me on this one!!!

These first projects were done for Anna Griffin's previous HSN show and CHA. Her embossing folders were used on each one.


On this layout the paper was embossed and then inked with gold ink for a "faux flocked" look.


This is just a basic page using the embossing folders and inking.


On this page, I used embossing folders and carbon paper! Anna used it for a demo, you can get some really cool looks with this!


Following are cards done with Anna's Floral card kit and embossing folders!


This card was done for Craft-Dee Bowz and I used a couple of Spellbinder's dies on it.


These cards were done for CHA for WorldWin Papers using embossing folder and dies.


Well, I hope I didn't bore you with all the photos, but I really would LOVE to make this team! If you are interested just check out their blog HERE. You can check out their products HERE.

Tuesday, February 19, 2013

Craft-Dee Bowz Card

Today is my day to post on the Craft-Dee Bowz blog so I shared a St. Patrick's Day card that I made. I used a vintage image for this one. A really easy card to do, but has a little bit of an elegant look to it I think. If you have a minute please check out the Craft-Dee Bowz blog here: Craft-Dee Bowz


Here you can see the two kinds of beatiful ribbon that I used for my bow, of course using the Craft-Dee Bowz tool. You can make multiple loops in a snap with this tool. Here is just a double loop.


Here you see the pearl accents that I used. I used some old scraps of some Basic Grey paper from way back. I cut out the little scalloped section and used pop dots for some dimension.


I added some small blooms and leaves to the center for some elegance also. And I punched a border and put it around the edges.


You can make really pretty cards using vintage images. Lots of free ones out there for almost any occassion. And it's easy to add gorgeous bows now with the Craft-Dee Bowz tool! Thanks so much for visiting and I hope you have a wonderful week!

Thursday, February 14, 2013

Some Favorite Minis

I was going through my photos and came across a folder of my mini albums. I realized that I never share them on my blog for some reason. I thought I would post a few of my favorites! Hope you like them!


All of these albums were designed for EMI Scrapbooking and sold. If anyone is interested in seeing any of the entire albums, just let me know.

Thanks so much for stopping by!

Saturday, February 9, 2013

Simple Elegance

What says elegance more than Anna Griffin? And the perfect compliments for her products are WorldWin cardstock and Spellbinders dies. This is a page that I did for WorldWin for CHA and I used a little bit of Anna Griffin and it was a perfect combo. Also a little die in the corner from Spellbinders topped it off.


Below you see the beautiful Spellbinders flourish. I added a bunch of little punched blooms that I made. And some little handcut leaves. I also added "faux" stitching with my Zig Marker in Rose.

For the little blooms I just used my Paper Shaper punch, curled the leaves, added some pink to the center and added a little liquid pearl in Petal Pink. More leaves. You can see the edge of the embossed matt behind the picture. This is a Provocraft Cuttlebug embossing folder.

Just one more closeup that shows a little more of the embossed mat. I added some ivory ribbon with a bow.


This was a very simple page, but I think it has a really elegant look to it. All of Anna's products are very elegant and beautiful. She has partnered with some new people and has some different style products also, you really should check out her new stuff! She has Cuttlebug folders and her very own "gold" Cuttlebug available from HSN. (sold out now, but back soon).

Thanks so much for stopping by my blog, I really appreciate your time!

Supplies used:
WorldWin ColorMates cardstock
Anna Griffin Inc. patterned paper
Anna Griffin Inc. border punch
Anna Griffin Inc. sentiment sticker
Spellbinders die
Provocraft embossing folder
Kuretake Zig markers
Ranger liquid pearl in Petal Pink
ribbon